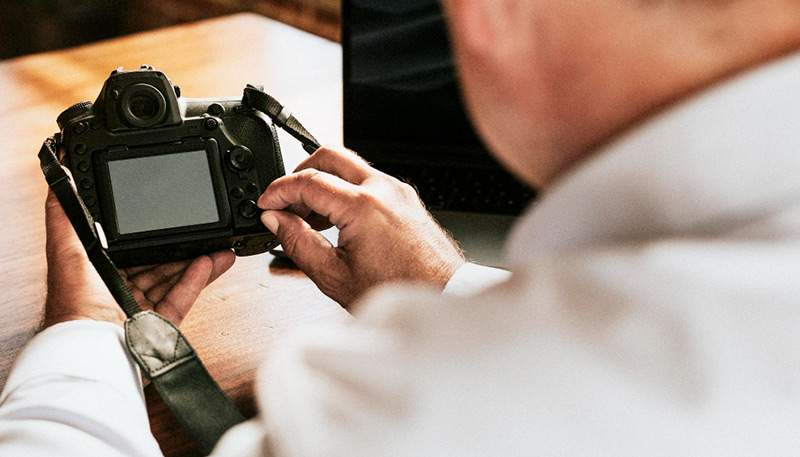
Take a deep breath if you’ve just taken up a camera and are feeling overwhelmed by the dials, numbers, and unfamiliar jargon. You’re not by yourself. Nearly all novices eventually get to the point where their images appear nearly perfect but fall short.
It’s not enough to learn technical language to comprehend camera settings. It involves understanding how light functions and how your camera reacts to it. This is precisely the point at which organized instruction at a reputable photography institute may be really beneficial.
Let’s dissect it. Just slowly.
The Foundation: The Exposure Triangle
Three settings govern each picture you take:
- ISO
- Speed of Shutter
- The aperture
When combined, they create what photographers refer to as the exposure triangle. When one is altered, the others are impacted. The first significant step from “auto mode” to creative control is striking this equilibrium.
ISO: The Light Sensitivity of Your Camera
Consider ISO to be the light sensitivity of your camera.
- Low ISO (100–200): Sharper, less sensitive photos
- High ISO (800–3200+): Increases sensitivity but introduces noise (grain)
When to Employ Low ISO
- Bright daylight
- Outdoor photo sessions
- Lighting in a studio
When to Increase ISO
- Low-light or indoor conditions
- Photographing at night
- When using a tripod or flash is not an option
Advice for beginners: Always aim to maintain the ISO as low as you can. Only increase it when there is insufficient light.
Seeing how ISO impacts image quality under actual shooting circumstances is how many photography institute students learn this.
Shutter Speed: Displaying Motion or Freezing
The length of time light enters the camera is controlled by the shutter speed. Seconds or fractions of a second are used to measure it.
- Action is frozen by a fast shutter (1/1000, 1/500).
- Motion blur is produced with a slow shutter (1/30, 1/10, 1 sec).
Use a Fast Shutter Speed for:
- Sports
- Wildlife
- Moving people or vehicles
Use Slow Shutter Speed for:
- Scenes in low light
- Trails of light
- Motion of water (creative blur)
Beginner’s mistake: Taking fuzzy pictures by using a slow shutter speed without realizing it.
For this reason, practical instruction at a photography institute is quite beneficial. Instead of just reading about motion blur, you learn to sense when it will occur.
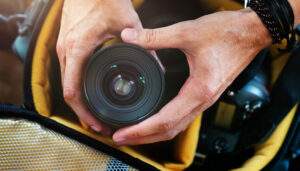
Aperture: Control of Depth, Focus, and Light
Your lens’s aperture determines how much of your image remains in focus as well as how wide it opens.
The notation is f-numbers:
- Wide aperture (f/1.8–f/2.8): Background blurred, more light
- Narrow aperture (f/8–f/16): More focus area, less light
Make Use of Wide Aperture:
- Portraits
- Bokeh, or background blur
- Photography in low light
Use a Narrow Aperture for:
- Landscapes
- Architecture
- Group photos
Easy to remember: A blurrier background corresponds to a lower f-number.
Sharper scene with a higher f-number
This is one of the most fascinating ideas taught early in photography institutes, and it’s frequently the “aha moment” for novices.
How These Three Cooperate (Actual Example)
Assume that you are shooting indoors:
- Low light levels ⇒ Raise the ISO
- Faster shutter speed because the subject is moving
- Wider aperture if you want background blur
You change one setting and then use the others to make up for it. The core of photography is this equilibrium.
This is done for you via auto mode. You can choose in manual mode.
Why Novices Face Difficulties (And It’s Normal)
The majority of novices encounter the same problems:
- Pictures that are either too bright or too dark
- Blurry pictures without any explanation
- Inappropriate settings spoil a good composition.
This isn’t a lack of skill. It’s a lack of organized comprehension.
These settings are taught at a reputable photography institute by supervised practice, errors, and corrections rather than as theory.
When to Use Auto Mode vs. Manual Mode
It’s okay to start in auto mode. However, it restricts creativity.
In manual mode, you get:
- Mood and lighting control
- Reliable outcomes
- Professional self-assurance
You don’t have to learn everything in a single week. Even knowing why a picture seems the way it does is a significant improvement.
Practice Is More Important Than Perfection
Reading is beneficial. Shooting is a teaching tool.
Try this:
- Take pictures of the same topic with various ISOs
- Adjust the shutter speed to see movement
- Watch for background blur and adjust the aperture
Learning environments like a photography institute accelerate progress far more quickly than trial-and-error alone because of this type of directed experimentation.
Typical Myths About Beginners (Let’s Dispel Them)
- Myth: “High-end cameras produce better images” Fact: More important are skill and settings
- Myth: “Only professionals should use manual mode” Fact: Every professional began as a novice.
- Myth: “You have to learn everything before you shoot” Fact: You learn by shooting
Why Learning the Basics Properly Matters
After you comprehend aperture, shutter speed, and ISO:
- Editing gets simpler
- Lighting makes sense
- Creativity gets better
- Self-assurance increases
All forms of photography—portraits, fashion, travel, wildlife, video, and content creation—are supported by this organization.
For good reason, it is the foundational course of study at all reputable photography institutes.
Conclusion
Complicated settings are not the focus of photography. It’s about comprehending light and using it to tell tales.
Aperture, shutter speed, and ISO are not obstacles. They are instruments. And once they do, photography becomes easy to understand, fun, and incredibly creative.
Don’t give up if you’ve been feeling stuck, perplexed, or uncertain. Both the learning curve and the reward are genuine.
Confusion can occasionally be resolved with the correct instruction at the appropriate photography institute in Kolkata.