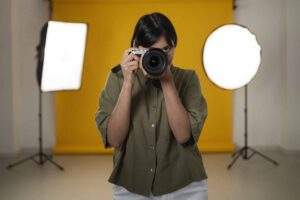
You can have the best DSLR. You can take pictures in manual mode. You can even get the lighting just so.
But if your composition isn’t good, the picture still looks… ordinary.
The main factor that sets apart beginner and expert photos is usually composition.
These five tips will help you enhance your photography right away, even if you’ve ever pondered how to do it without buying new gear.
1. Learn the Rule of Thirds, but don’t let it control you.
Let’s start with the most well-known rule of photography: the rule of thirds.
Two vertical and two horizontal lines divide your frame into nine equal squares. The principle is easy: put your subject on those lines or where they cross.
What makes it work?
Because compositions that are off-center look more dynamic and natural to the eye.
Instead of putting your subject right in the middle:
- Shift them a little to the left or right
- Put the top or lower third of the horizon in line with the other
- Put your gaze at the top of the intersecting spots
A lot of DSLRs feature a grid option. Start it up. Practice on purpose.
But here’s the secret: you don’t have to follow it exactly once you get it. Rules give you a sense of order. Experience shows you when to break them.
2. Use leading lines to direct the eye
Learning how to use leading lines in photography is one of the quickest methods to make pictures that seem professional.
Leading lines are lines that are either natural or constructed by people that draw the viewer’s eye to the subject.
For example:
- Roads
- Railings
- Fences
- Stairs
- Banks of rivers
- Shadows
When used right, they:
- Make things deeper
- Give direction
- Make stories stronger
Instead of putting your subject in a random place, ask yourself, “Can I use lines in this scene to draw attention to them?”
Professional images don’t often look flat; they lead your eye smoothly through the frame.
3. Frame Inside the Frame
This is a small but strong technique.
Use things from nature to make a border around your subject:
- Doorways
- Windows
- Branches of trees
- Arches and curtains
This method:
- Adds depth
- Brings everything into focus
- Gives the picture a layered look
You can usually see something in the foreground of professional images that gives them structure. It gives the picture a sense of depth.
The key isn’t necessarily to add more; it’s to make the most of what’s already there.
4. Make the background easier to understand
One of the most common mistakes beginners make is… Backgrounds that are distracting.
Even if you use the rule of thirds or leading lines correctly, a messy background might destroy the picture.
Before you click:
- Look at the margins of the frame
- Get rid of everything that will keep you from focusing
- Change your point of view
- Get closer
- Change the aperture to blur the background
Professional photographers don’t only look at the subject; they look at the whole frame.
Ask yourself, “Is anything distracting from my subject?”
If so, fix it before you take the picture.
5. Add depth to every shot
Images that are flat look like they were made by an amateur. Depth gives images a true look.
You may make depth by:
- Adding things in the foreground
- Using lines that lead
- Changing the aperture
- Taking pictures from higher or lower angles
- Putting things on top of each other
Try taking pictures from different angles instead of just at eye level.
Get down. Shoot through things. Use a different point of view.
When you learn how to improve the composition of your photos, you’ll see that depth is often more important than camera settings.
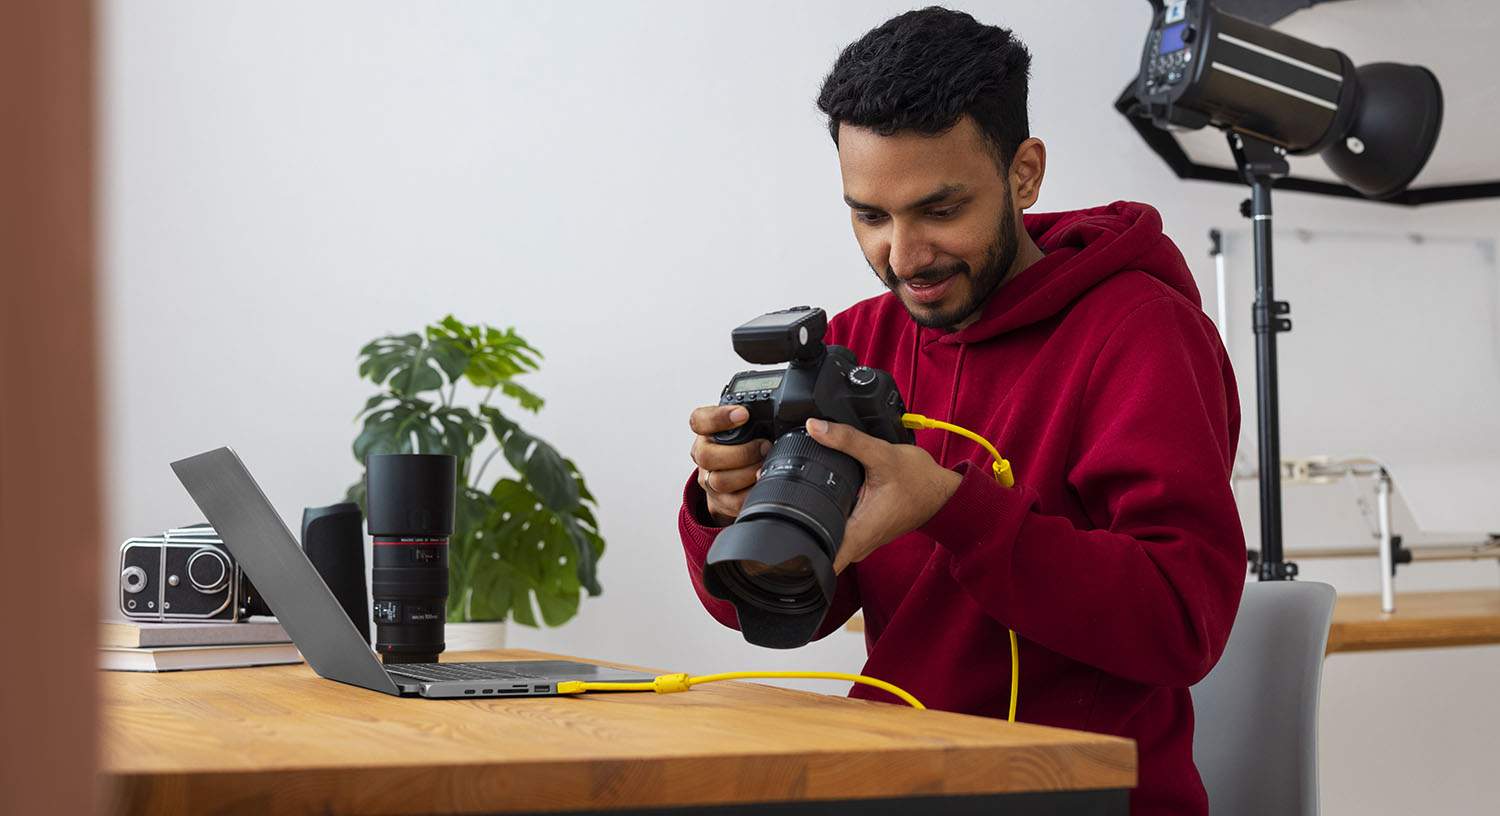
The Hidden Truth: Composition Beats Gear
A lot of beginners think that professional shots need pricey lenses.
But here’s the truth:
A well-framed picture taken using basic gear typically looks better than a poorly composed picture taken with high-end technology.
That’s why serious photographers spend a lot of time learning the basics of composition at the start of their careers.
If you want systematic, hands-on practice instead of just trying things out and seeing what works, taking photography courses in Kolkata can help you learn about framing, balancing, and visual narrative much faster.
Because learning how to compose music correctly saves years of guesswork.
A quick practice activity
Next time you go out to take pictures:
- Use the rule of thirds to take one picture
- Take another one with leading lines
- Use framing to take a third
- Look at them side by side
You will be able to see right away which picture looks more “professional.”
What makes that different? It’s the way it’s put together.
Conclusion
It’s not about secret settings that make DSLR photographs look professional. They’re about perceiving things in a new way.
Master:
- Taking pictures with the rule of thirds
- Lines that lead the way in photography
- Backgrounds that are clean
- How to frame things
- Making depth
And your pictures will look better right away.
Keep in mind that cameras take pictures of light.
But it’s the photographers that tell the story.
And that’s where the story starts: composition.